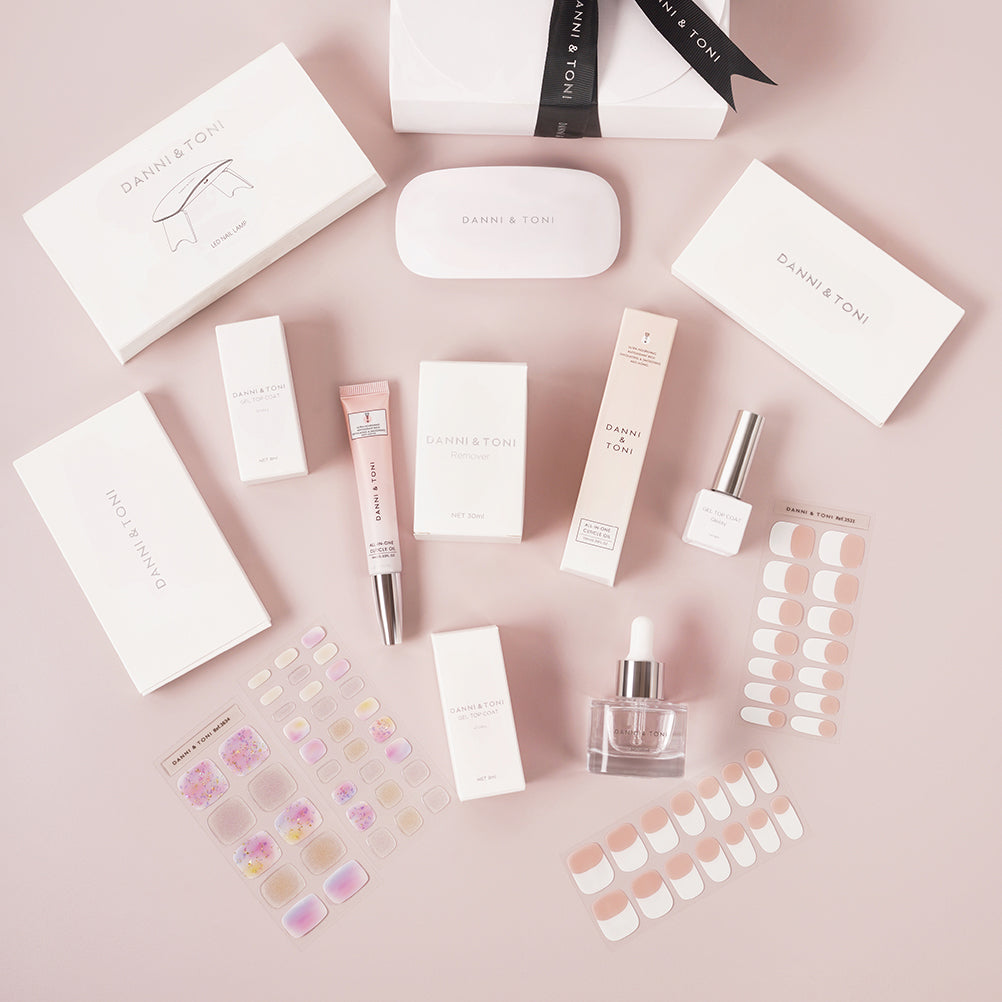


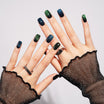

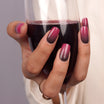
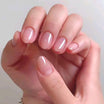
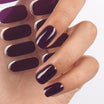


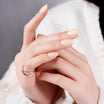
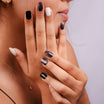

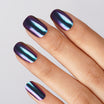
How to Apply & Remove Gel Nail Strips


1. PREP YOUR NAILS
Wash your hands & let dry, remove cuticles, and clean your nails with cotton prep pad for any oil, residue. Avoid using hand cream or cuticle oil before apply gel strips.

2. CHOOSE SIZE
Ideally, choose a slightly smaller size and fit to your nails by stretching it. Hold the nail strip sheet over your nails. You can always trim. or stretch vertically/horizontally to find your perfect size.

3. APPLY
Apply by folding the overhanging end under your nail tips to cover the entire nail edge. Then press firmly from the middle to the side to smooth out any wrinkles and air bubbles, especially the edges.

4. CUT OFF THE EXTRA
Use the scissors that comes with the tool kit to cit off the excess, make sure you leave some around the nail edge.

5. TRIM THE EDGES
Trim your nail strips with the nail file with the rougher side. File the strips vertically, and always do it in one direction to avoid damaging the strips.

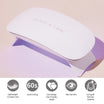
6. CURE WITH THE LAMP
Finally, connect your UV gel nail lamp to a power source, place your fingers under the lamp and switch it on. Cure your nail strips for around 60 seconds.

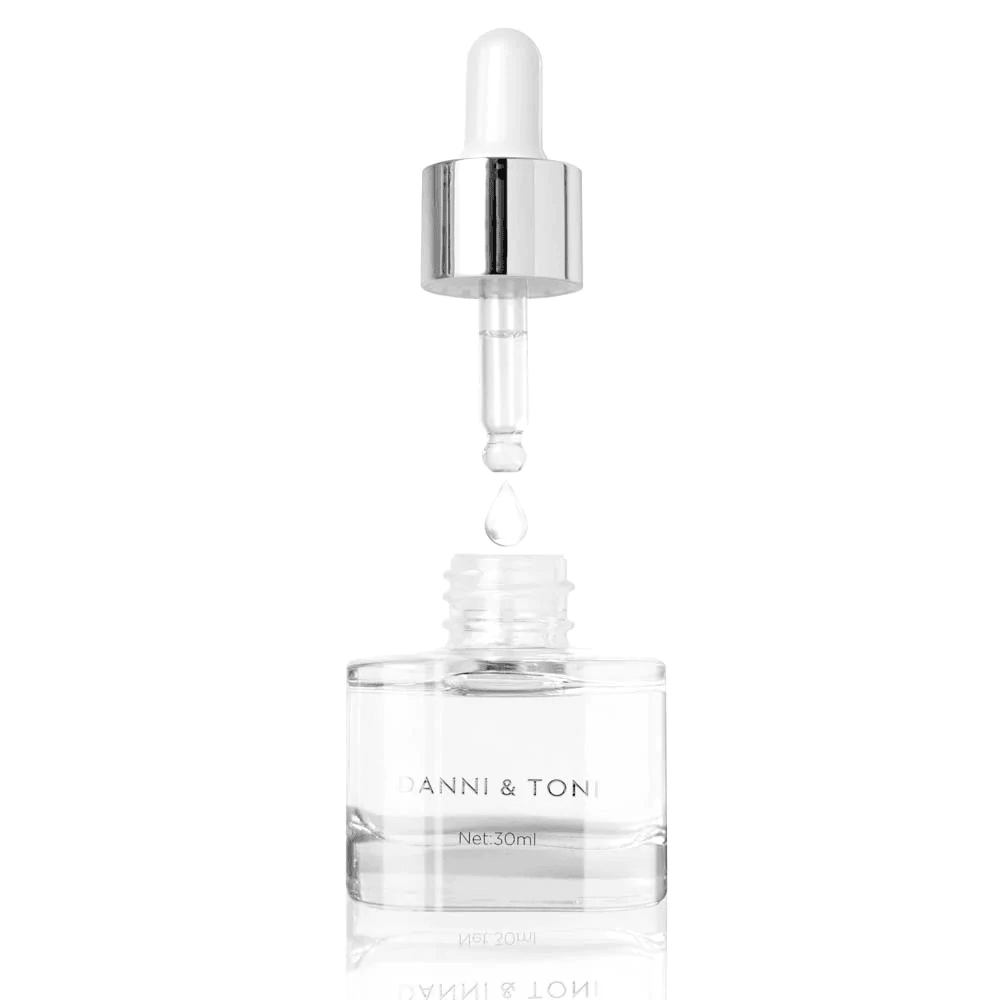
Optional: top coat
If you want extra shine and durability to your nails, you can apply a thin layer of top coat after step 6, and cure it after applying top coat for it to become dry.
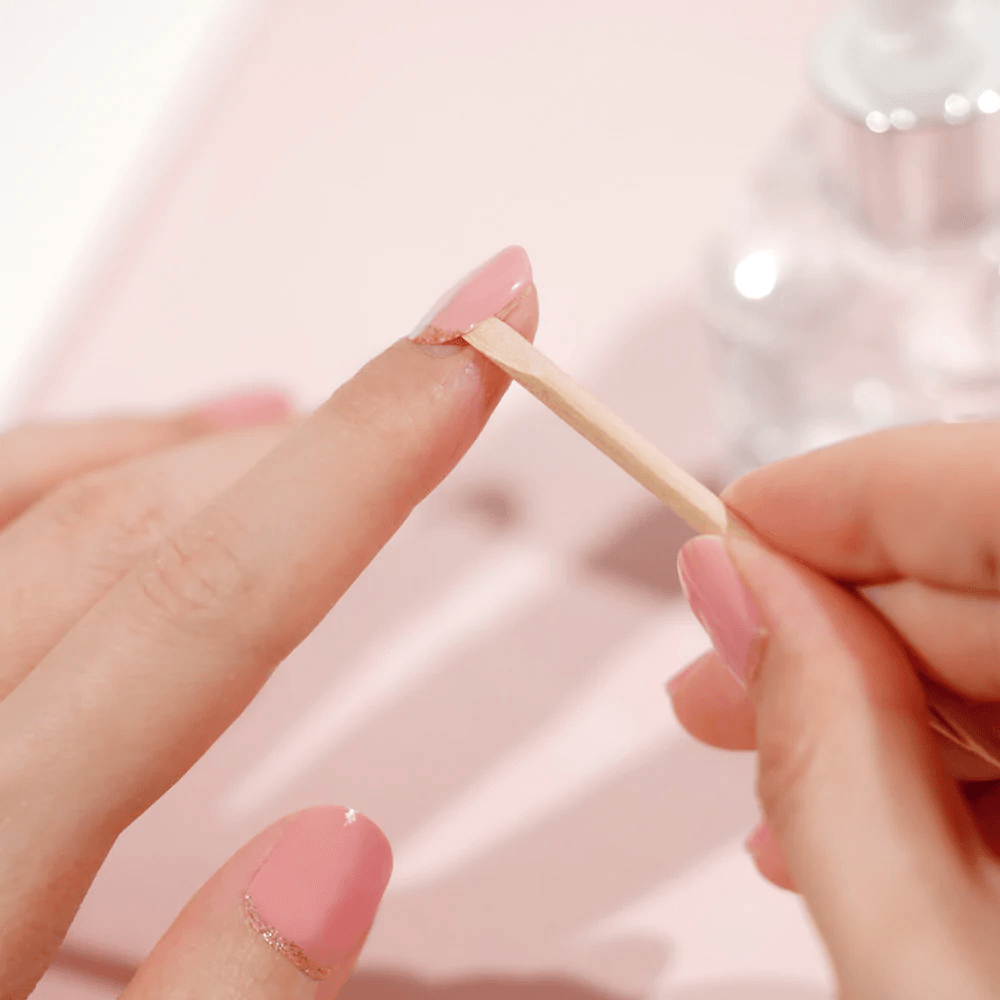
How to remove?